Integrating Google Analytics into a WordPress website is a crucial step for website owners looking to gain insights into their visitor behavior and site performance.
Whether you’re using GeneratePress as your theme or any other, there are straightforward methods to add your Google Analytics tracking ID.
The two most common approaches include using the Google Site Kit plugin for a more automated process or manually inserting the tracking code into your site’s header.
This guide will walk you through both methods, helping you choose the best option for your needs and ensuring that your website is well-equipped to gather valuable analytics data.
Google Site Kit
Google Site Kit is an invaluable tool, especially for non-tech savvy WordPress users GeneratePress theme.
As an official plugin developed by Google, Site Kit simplifies the process of adding Analytics to your website. It allows you to connect directly to your Google Analytics account and automatically embeds the necessary tracking code across all pages of your site. This eliminates the need for manual code insertion, making it an ideal solution for those who prefer a more streamlined and user-friendly approach.
Additionally, Google Site Kit provides the convenience of viewing key analytics data directly within your WordPress dashboard, offering a seamless integration that enhances your site management experience.
Adding Google Analytics Code Using Google Site Kit Plugin
Before we begin, you will need first need to create a Gmail account, then enroll that email account with Google Analytics and Google Search Console platforms (click here if you need instructions).
Step # 1 – Install Google Site Kit Plugin:
- Go to your WordPress dashboard.
- Navigate to ‘Plugins’ > ‘Add New’.
- Search for ‘Google Site Kit’, install, and activate it.
Step # 2 – Setup Google Site Kit:
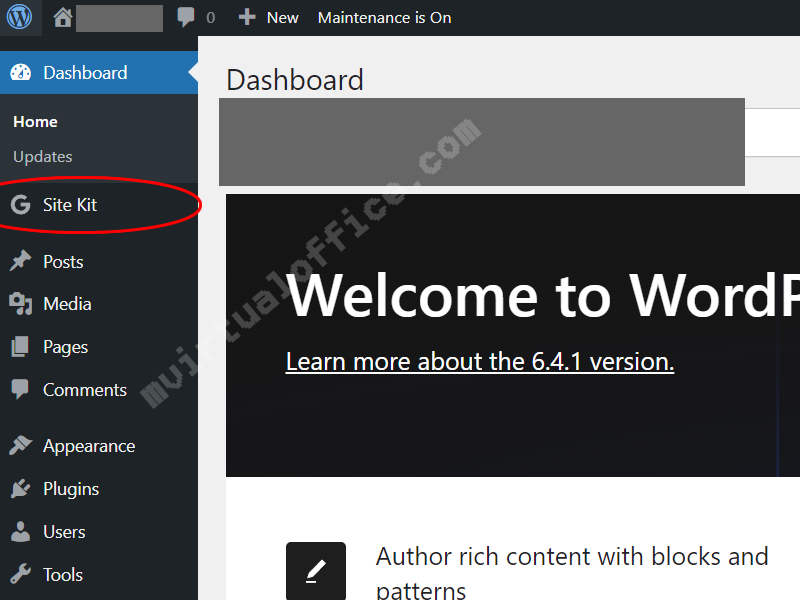
- Once activated, go to the new ‘Site Kit’ menu.
- Follow the setup instructions to connect your Google account.
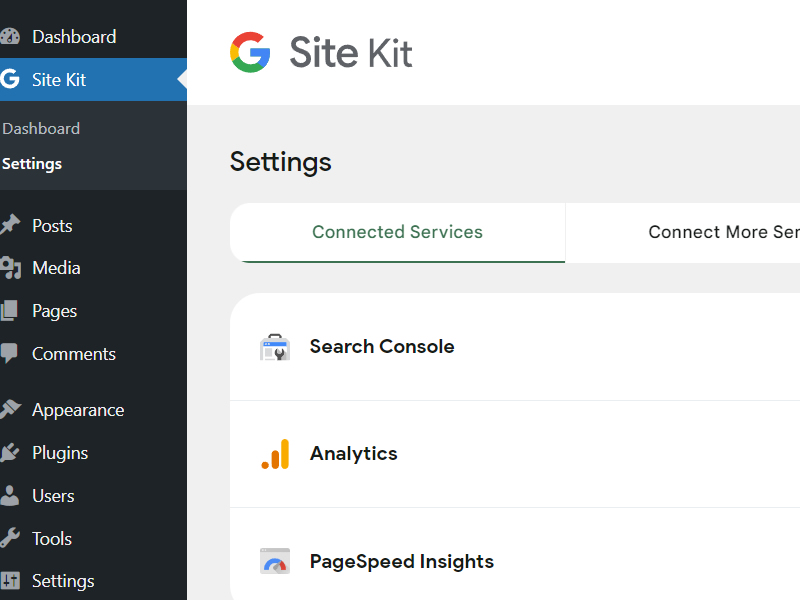
Step # 3 – Connect Google Analytics:
- In the Site Kit dashboard, find and connect the Google Analytics module.
- Follow the on-screen instructions to link your Google Analytics account and select the correct property (your website).
- Verification and Ready to Go:
- Google Site Kit will automatically add the tracking code to your site.
- You can view analytics data directly in your WordPress dashboard.
Manually Adding the Tracking Code
Manually adding the Google Analytics tracking code offers a hands-on approach for WordPress users who prefer direct control over their site’s configuration.
This method involves accessing the Google Analytics platform to obtain your unique tracking code and then embedding it into your WordPress site, typically within the header section. This is done either by editing the theme files directly or using the theme’s custom code options, such as in the GeneratePress theme.
| Performance Considerations |
|---|
| Be aware that adding scripts like Google Analytics to the header can affect the loading time of your site, as these scripts are loaded before the page content. |
While this approach requires a bit more technical know-how compared to using a plugin like Google Site Kit, it provides flexibility in terms of code placement and ensures that the tracking code remains intact even if you change plugins or themes in the future.
It’s an effective choice for those who have a specific setup in mind or want to maintain a minimal number of plugins on their site.
- Access the WordPress Customizer:
- Go to your WordPress dashboard.
- Navigate to ‘Appearance’ > ‘Customize’.
- Navigate to Widgets:
- In the Customizer, look for the ‘Widgets’ section.
- Click on it to access the widget areas provided by your theme.
- Select the Header Widget Area:
- Find the ‘Header’ widget area. The availability of this area depends on your theme configuration, so ensure your version of GeneratePress includes it.
- Click on the Header area to add a widget to it.
- Add a Custom HTML Widget:
- Click ‘Add a Widget’ and choose ‘Custom HTML’ from the list of available widgets.
- Paste your Google Analytics tracking code into the content area of the Custom HTML widget.
- Save and Publish:
- After adding the code, click ‘Publish’ to save your changes.
- This will add the Google Analytics tracking code to every page of your site, as the header is typically loaded on every page.
- Verify the Tracking Code:
- After publishing, you can check your site’s source code or use tools like Google Tag Assistant to verify that Google Analytics is properly set up and receiving data.
Wrapping Up
In conclusion, integrating Google Analytics with the GeneratePress theme on your WordPress site can be effectively achieved through two distinct methods: using the Google Site Kit plugin or manually inserting the tracking code.
The Google Site Kit plugin offers a user-friendly and streamlined approach, ideal for those who prefer a simple, plugin-based solution that also allows for easy access to analytics data within the WordPress dashboard.
On the other hand, manually adding the tracking code, either through a Custom HTML widget in the header or by editing theme files (especially when using a child theme), provides more control and flexibility, particularly for users comfortable with a bit of coding.
Both methods ensure that your Google Analytics is set up correctly, enabling you to track visitor data and gain valuable insights into your website’s performance.
There are other methods of adding the Google Analytics tracking code, such as modifying the header.php or functions.php files, but I do not recommend them as they are tricky to add and can break your site.